Documents
All modules
Set up the client folder structure and portal visibility
Documents · 15 of 15 · 4 min read
The Documents settings decide two things: the subfolders each new customer's folder is created with, and whether customers can see their own documents in the portal. For example, you can decide that every new client folder starts with Issued invoices, DDT, Received invoices and Other attachments.
The screen opens with two sections, Client folder structure and Customer documents in the portal. Below them are the settings of the documents your customers receive, such as Event proposal.
Note: anyone who can only read these settings sees the message Read only — you can see these settings but not change them.
Choose the structure and visibility
The structure only applies to client folders created after you save. Folders that already exist keep the structure they have.
- If you want new customers to have one more subfolder, for example for contracts, add it to the structure.
- If a subfolder is no longer needed, remove it: existing folders do not change.
- If you rename a subfolder, the new name applies to folders created from that point on. Existing folders keep the old name.
- If customers must not see their folder in the portal, turn off visibility: the folders are hidden, but nothing is deleted or moved.
The client folder and how it is created are described in Keep a customer's documents in their folder.
Set the client folder structure
The Client folder structure section lists the subfolders a customer's document folder is created with.
- Open the settings and press Documents in the list on the left.
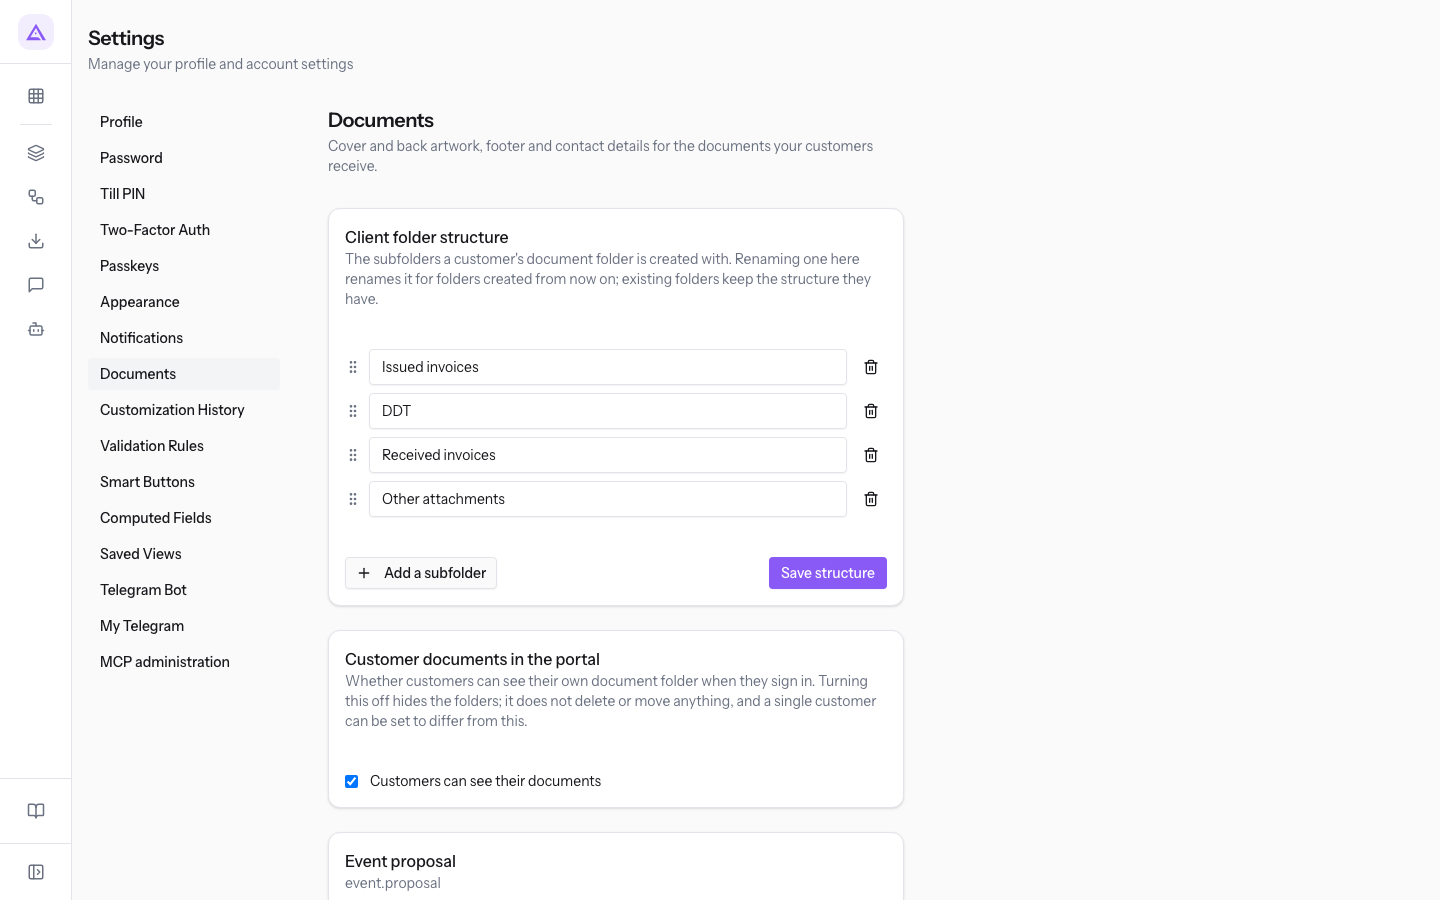
- To rename a subfolder, edit the text of its row, for example
Other attachments. - To add a subfolder, press Add a subfolder and type the name in the new empty row.
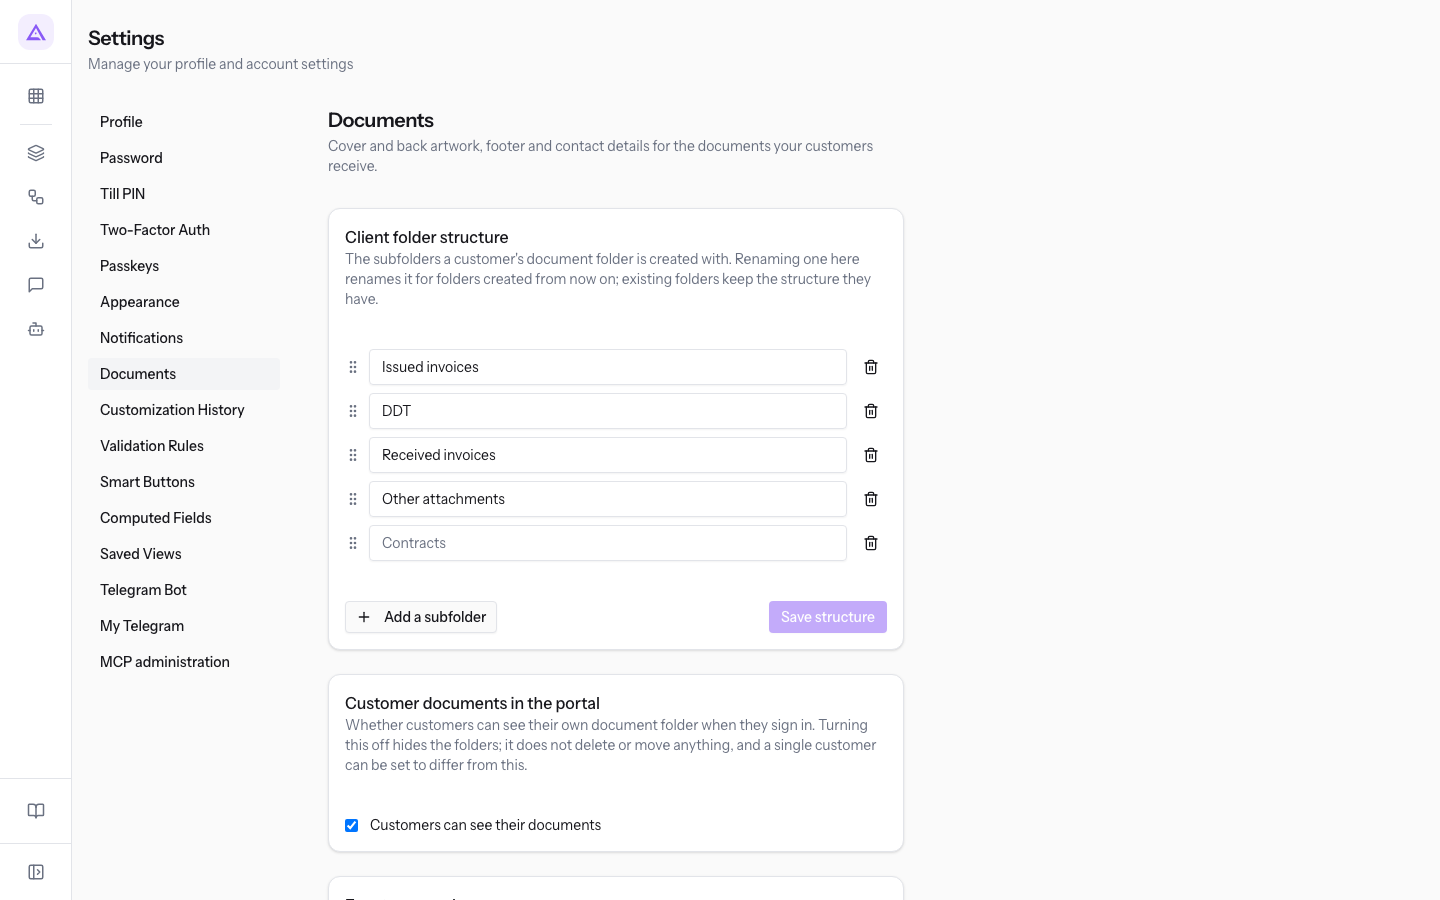
- To remove a subfolder, press the remove button of its row, such as Remove DDT. On the row you just added, the button is Remove this subfolder.
- Press Save structure. The message The standard subfolders have been saved. New client folders will be created with them. appears.
The elements of the section:
- Subfolder rows: one text box for each subfolder, with the subfolder name. In the demo organization they are
Issued invoices,DDT,Received invoicesandOther attachments. - Remove button with the subfolder name, such as Remove Issued invoices: removes the row from the structure.
- Add a subfolder: adds an empty row at the bottom of the list.
- Save structure: saves the list. The changes apply to new client folders.
Important: changes to the structure are not applied to client folders that already exist, such as those of Rossi Arredamenti S.r.l. and Verdi Costruzioni S.p.A. Add or rename the subfolders of those folders by hand, if needed.
Set the document visibility in the portal
The Customer documents in the portal section decides whether customers see their document folder when they sign in to the portal.
- Open the settings and press Documents in the list on the left.
- In the Customer documents in the portal section, turn Customers can see their documents on or off.
- The setting is saved right away. The message Saved. Customer portal visibility now follows this setting. appears.
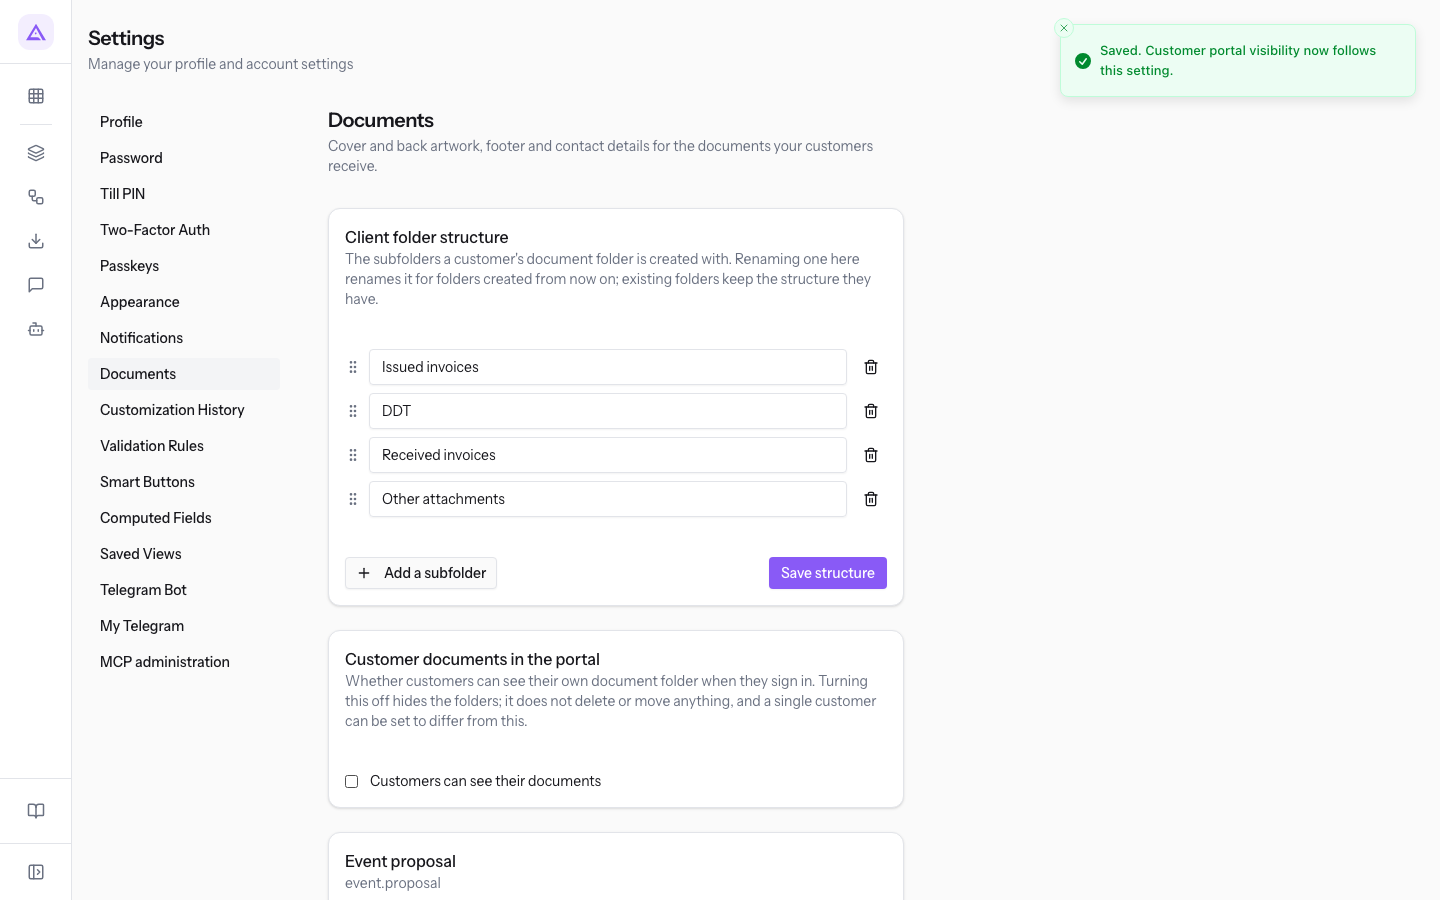
The field of the section:
- Customers can see their documents: checkbox.
- On: customers see their document folder when they sign in to the portal.
- Off: the folders are hidden from customers. No folder and no document is deleted or moved.
Note: a single customer can have a different setting from the organization's.
Which folders each customer sees depends on the folder sharing, described in Sharing folders with customers in the portal. In the portal, customers see files in read-only mode and send files only in reply to a document request.
See it on your company, not on a slide deck.
In 30 minutes we map the software you use today.We show you how much work and how much margin Archimedes gives back.
Show me on my business →What industry are you in?
One tap — it lets us prepare the demo around your world.
What tools do you use today?
Pick the ones you recognise — or just type them. It helps us show you how they migrate.
Last step: your details.
We reply within one working day — and right after, if you like, you pick the demo slot yourself.
We couldn't send your request. Try again, or write to us at [email protected].
By sending, you agree to your data being processed so we can get back to you about the demo. Privacy notice.
Preview form — nothing is sent from this page.
Want to schedule the demo now?
Your call: book the slot you prefer yourself, or we'll call you to arrange it.
Live availability, 30 minutes, instant confirmation. The calendar opens in a new tab.
Lock in your slot ↗We'll get back to you within one working day — and we'll join the call already knowing your world.
The calendar is open in another tab: pick a slot and the demo is booked. Can't see it? Reopen it ↗
Preview page: nothing was sent.
Our calendar is live: take the slot that suits you and the demo is booked. 30 minutes, instant confirmation, no waiting.
Lock in your slot ↗