Tree of Knowledge
All modules
Upload or record a reel
Tree of Knowledge · 7 of 14 · 3 min read
The reel panel adds the video to a portal reel. From here you record it in the browser, upload a file, or replace the video already there.
The reel panel
When you select a reel in the Content panel, the panel on the right changes depending on whether there is a video.
If the reel has no video, the panel shows No video uploaded yet, the buttons Record Reel and Upload Video, and the tip Recommended: vertical 9:16, under 60 seconds. This is the case for the reel Tidying the Fireplace Hall.
If the reel has a video, such as Laying the breakfast table, the panel shows the player and these details:
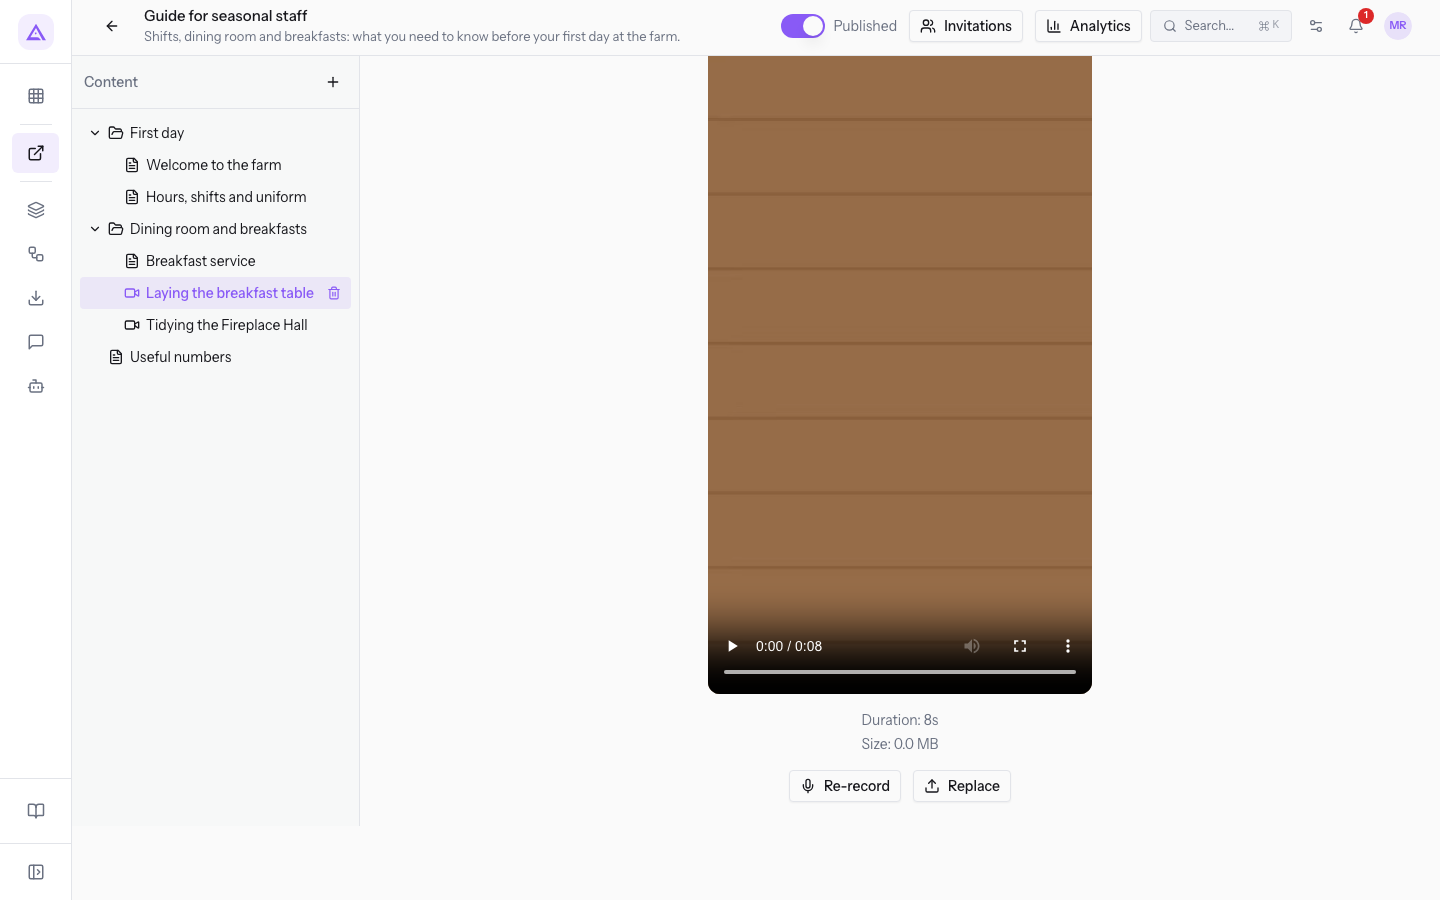
- Duration: the length of the video in seconds.
- Size: the size of the file in MB.
- Re-record: opens the Record Reel window.
- Replace: opens the choice of a new video file.
Upload a video file
Use upload when the video already exists as a file. The reel takes its orientation from the file: a horizontal video is shown horizontally.
Before you start: you need the author or module manager role. The reel must already exist in the tree: to create it, see Build the tree with sections, pages and reels.
- In Tree of Knowledge, open the portal and select the reel in the Content panel.
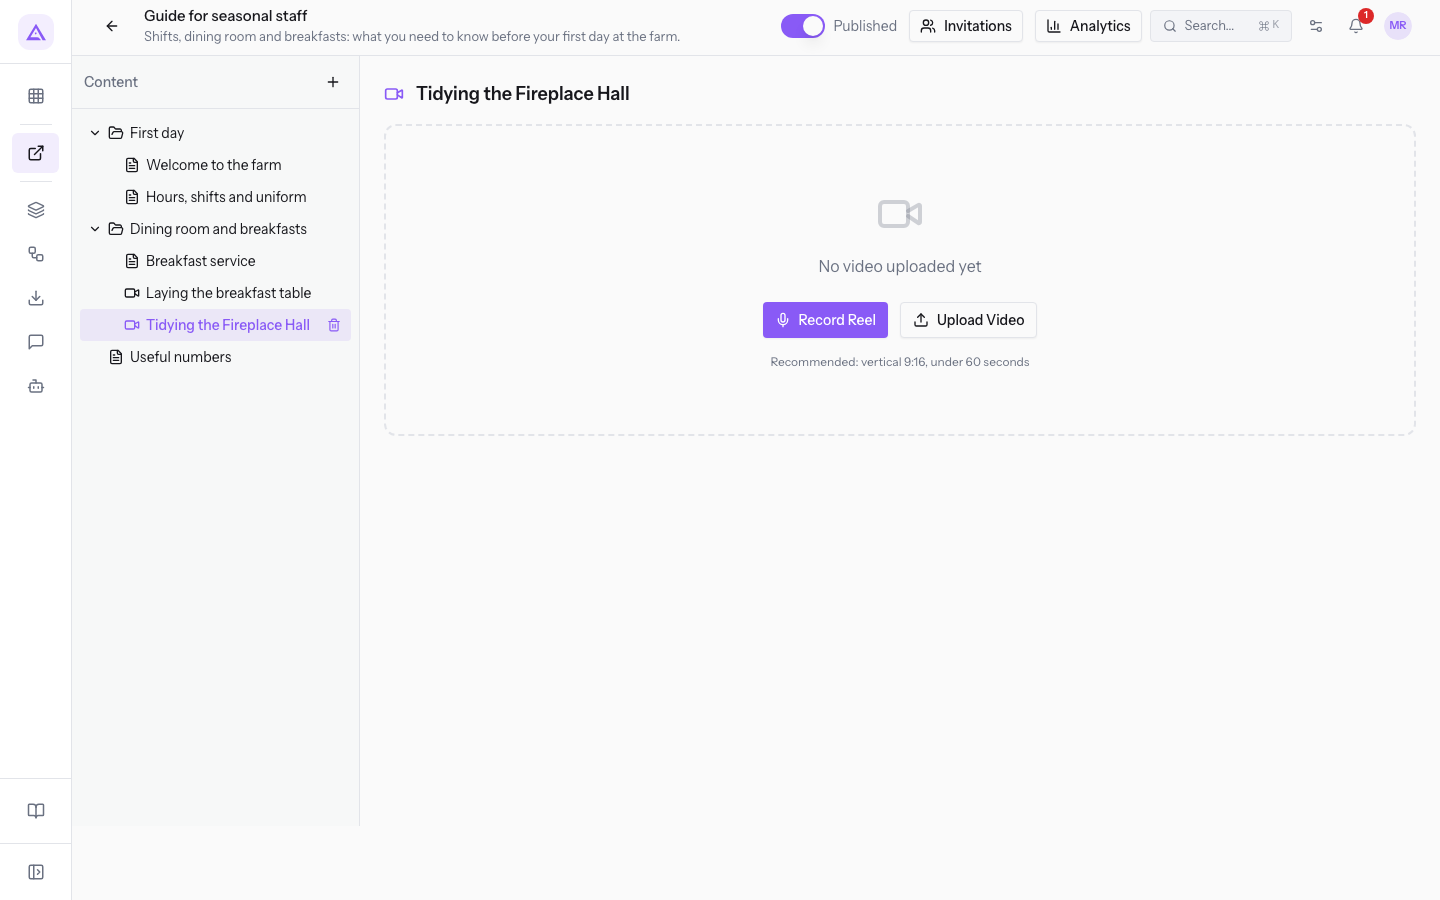
- Press Upload Video and choose the file. While uploading, the panel shows a progress bar with the percentage.
The file must meet these limits:
- Accepted formats: MP4, WebM, QuickTime and Matroska.
- Maximum size: 500 MB.
Record a reel
Use recording when you want to film the video from the browser, with the room or by capturing the screen. The recording lasts at most 60 seconds: past this limit it stops by itself.
- Select the reel in the Content panel.
- Press Record Reel. The Record Reel window opens.
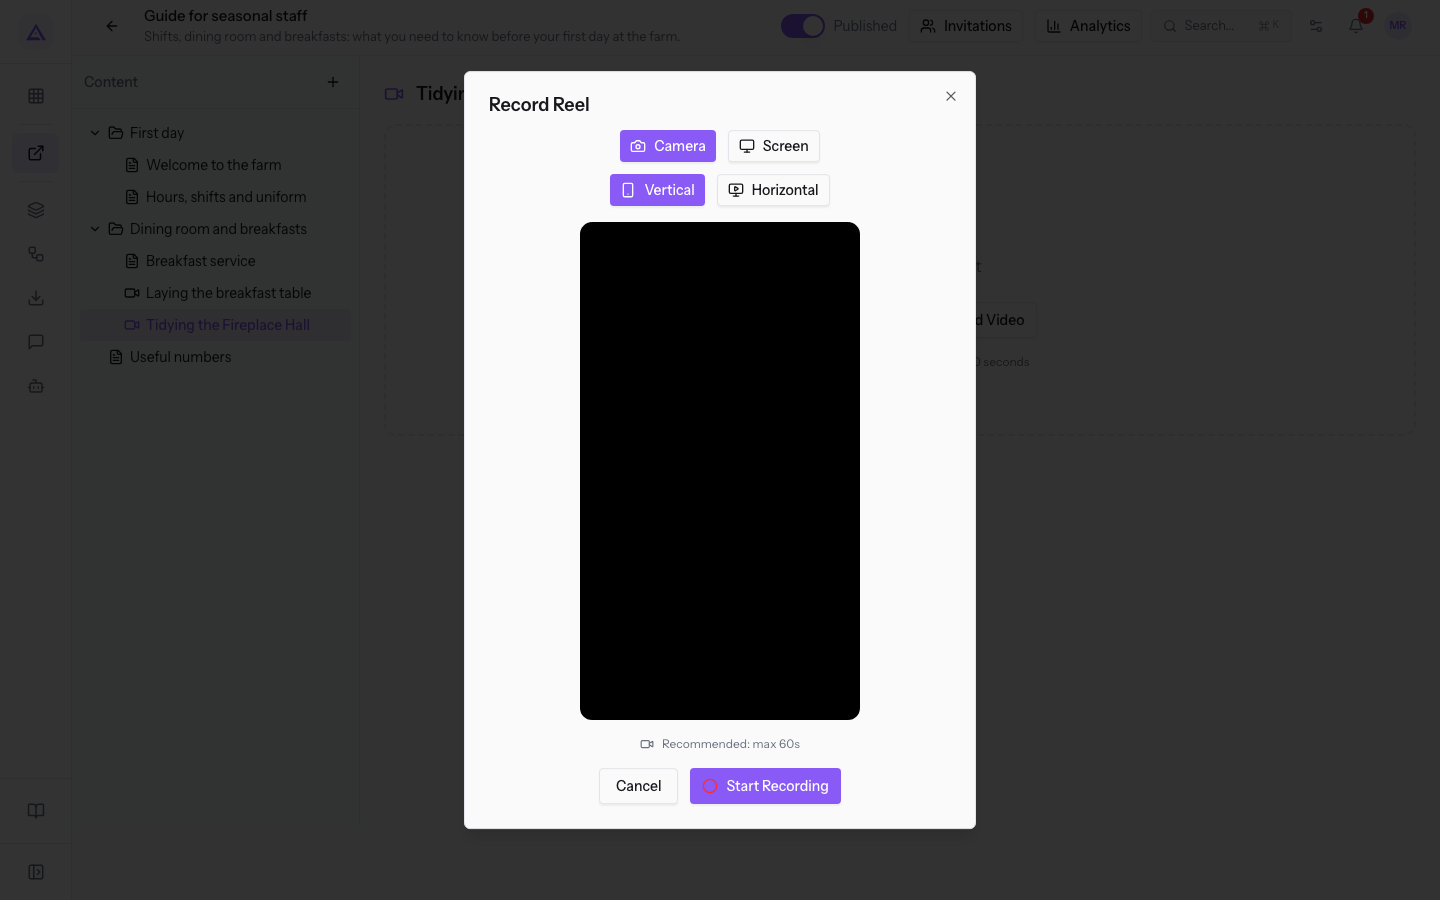 3. Choose the source and the orientation:
- Source: Room or Screen. The initial choice is Room.
- Orientation: Vertical or Horizontal. The initial choice is Vertical, the format recommended for reels.
- Press Start Recording. A 3-second countdown starts, then the window shows the time elapsed against the 60-second limit.
- Press Stop Recording when you are done. The window shows the preview with the duration.
- Press Save Reel to keep the video, or Re-record to start again.
Note: source and orientation can only be chosen before the recording starts.
Replace a reel's video
A reel with a video can be recorded again or replaced with another file.
- If you have a new file, press Replace. The same formats and maximum size as for the upload apply.
- If you want to film the video from the browser, press Re-record and follow the same steps as the recording.
To check how the reel appears to the visitor, see View the portal as the link recipient.
See it on your company, not on a slide deck.
In 30 minutes we map the software you use today.We show you how much work and how much margin Archimedes gives back.
Show me on my business →What industry are you in?
One tap — it lets us prepare the demo around your world.
What tools do you use today?
Pick the ones you recognise — or just type them. It helps us show you how they migrate.
Last step: your details.
We reply within one working day — and right after, if you like, you pick the demo slot yourself.
We couldn't send your request. Try again, or write to us at [email protected].
By sending, you agree to your data being processed so we can get back to you about the demo. Privacy notice.
Preview form — nothing is sent from this page.
Want to schedule the demo now?
Your call: book the slot you prefer yourself, or we'll call you to arrange it.
Live availability, 30 minutes, instant confirmation. The calendar opens in a new tab.
Lock in your slot ↗We'll get back to you within one working day — and we'll join the call already knowing your world.
The calendar is open in another tab: pick a slot and the demo is booked. Can't see it? Reopen it ↗
Preview page: nothing was sent.
Our calendar is live: take the slot that suits you and the demo is booked. 30 minutes, instant confirmation, no waiting.
Lock in your slot ↗