Tree of Knowledge
All modules
Build the tree with sections, pages and reels
Tree of Knowledge · 4 of 14 · 4 min read
The portal editor organizes content into a tree of sections, pages and reels. From here you add, select, rename and delete the elements in the tree.
The portal editor
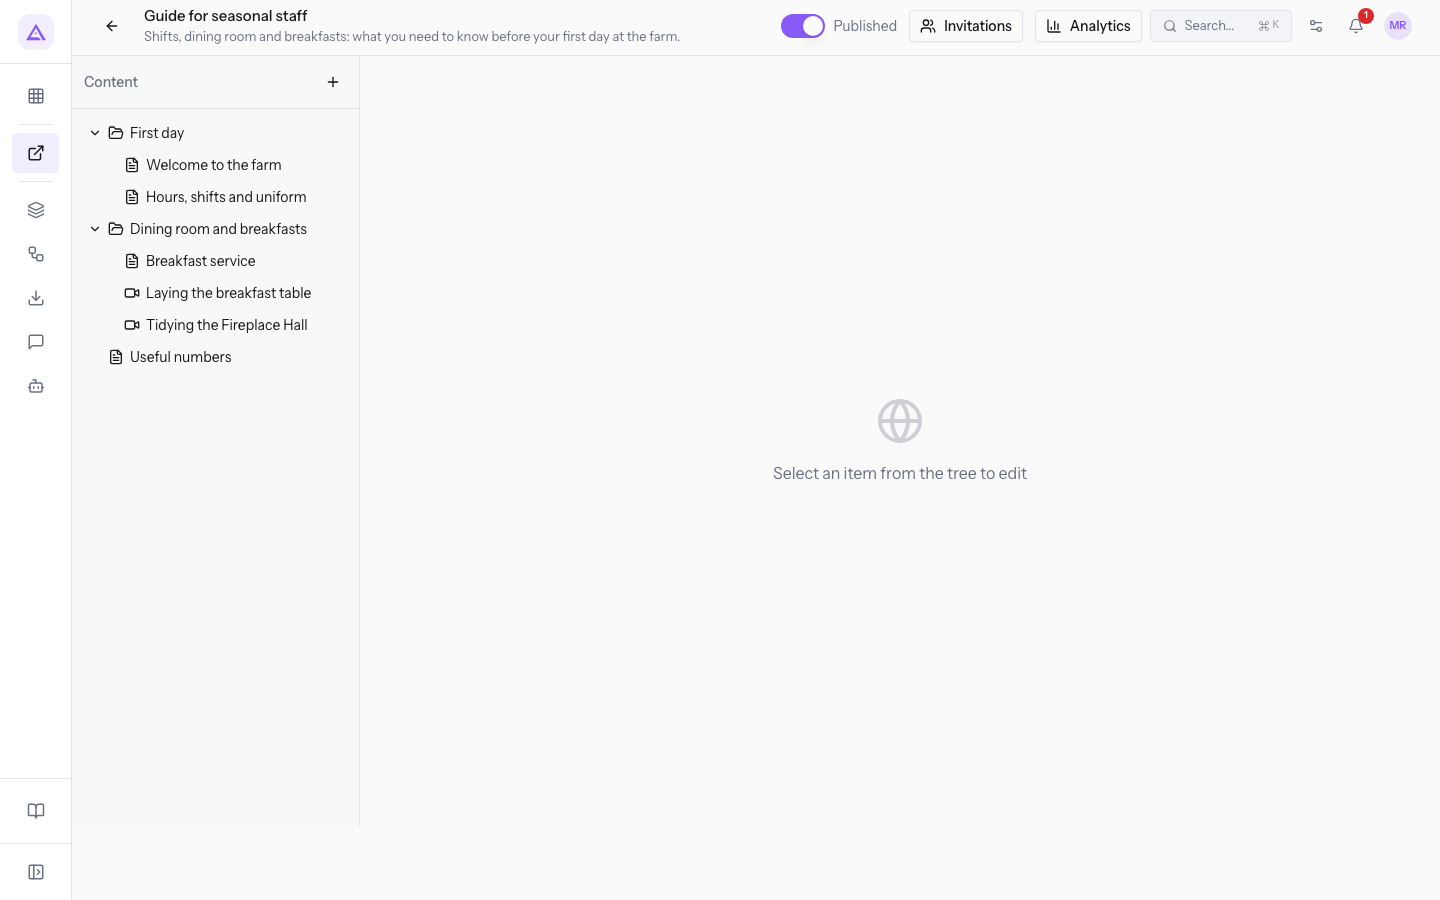
The editor opens when you press a portal in the list of Tree of Knowledge. On the left, the Content panel shows the tree. On the right, the panel shows the selected element. Until you select something, the panel shows Select an item from the tree to edit.
On a portal with no elements, the Content panel shows No content yet and the link Add first item. To create the portal, see Create a new portal.
Choosing the element type
The type sets what the element contains. Choose it based on what the visitor needs to find.
- Section: groups other elements and can contain other sections. It has no text of its own. If you need to collect several elements under a title, such as
First day, choose Section. - Page: contains text and is the only type that can have Attachments. If you need to give written instructions or attach a file, choose Page. For the text, see Writing and saving a page.
- Reel: contains a short video, recorded in the browser or uploaded. If you need to show an operation on video, such as
Tidying the Fireplace Hall, choose Reel. For the video, see Uploading or recording a reel.
Adding an element
Every element starts from the Add Content window, at the top level of the tree or inside a section.
- Press the + button next to Content. On a portal with no elements, press Add first item.
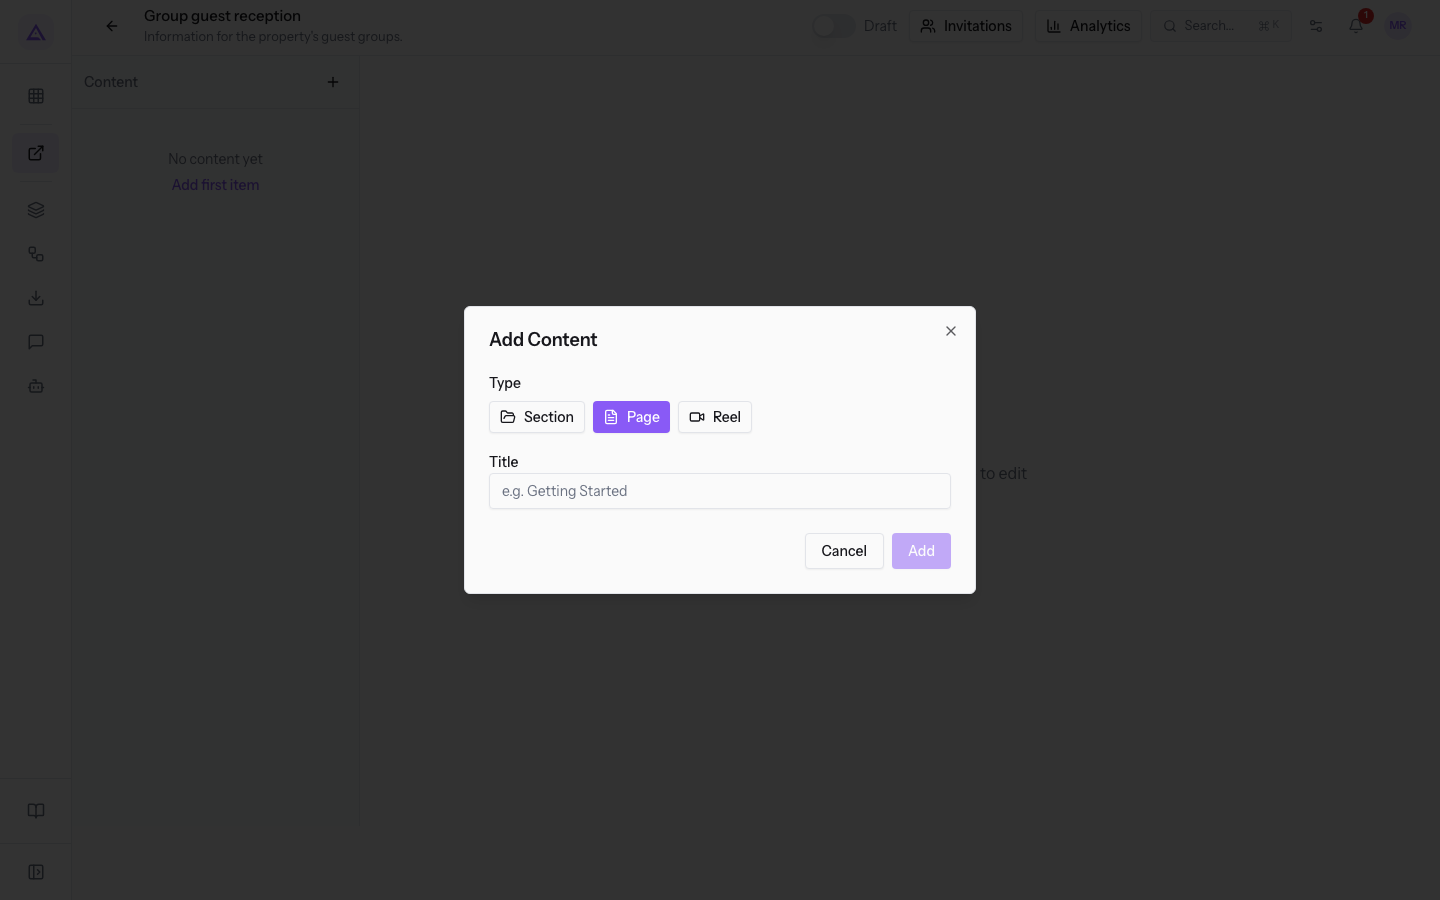
- In Type, choose Section, Page or Reel.
- In Title, write the name that appears in the tree.
- If the tree already contains elements, in Parent Section (optional) choose where to insert the new element.
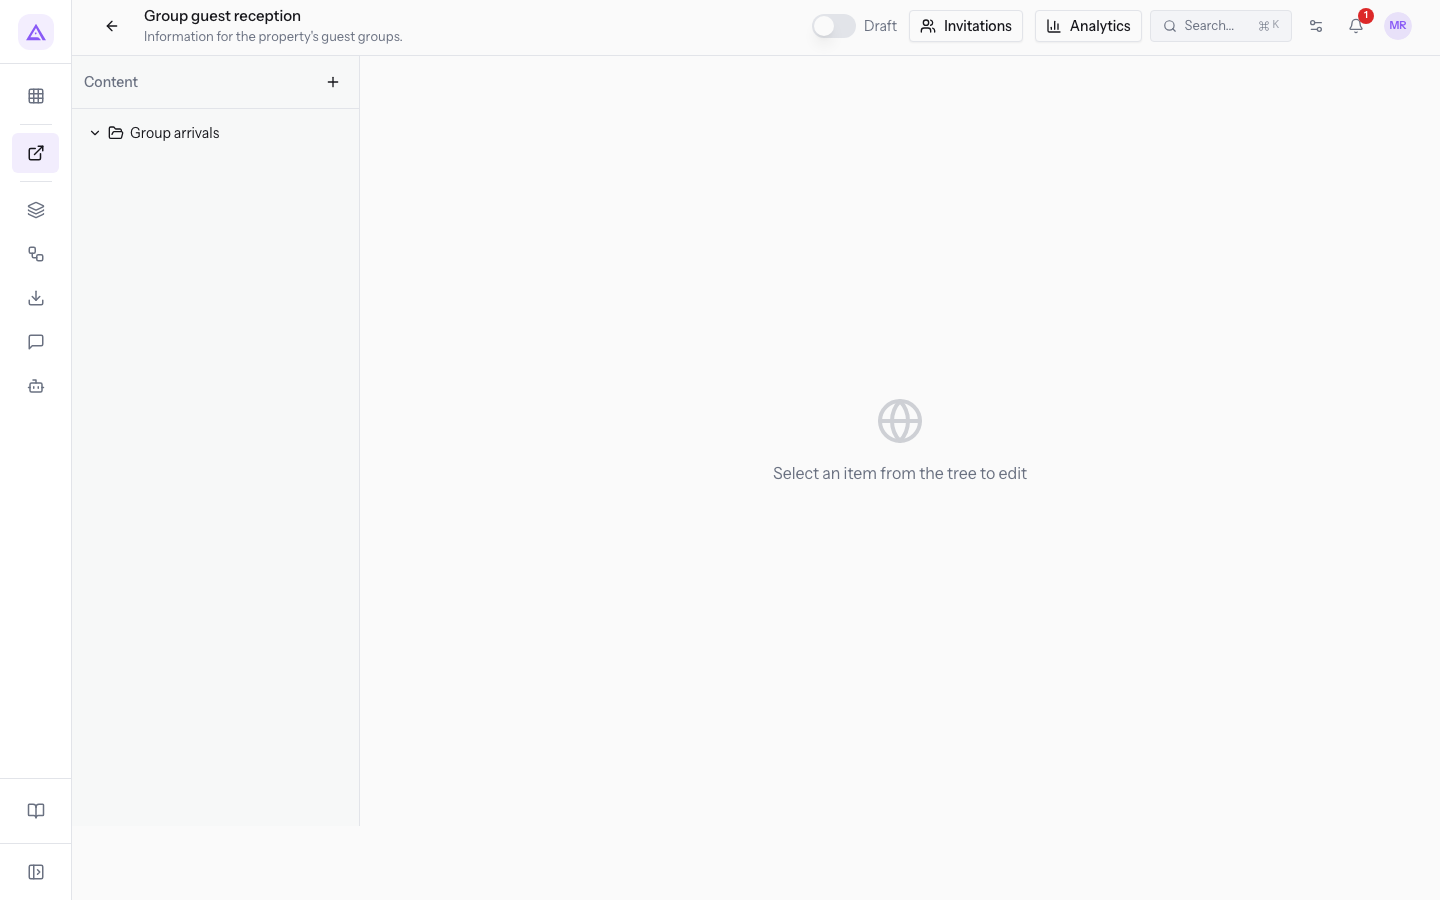
- Press Add, or press Enter in the Title field. The window closes and the tree shows the new element. The new element is not selected: to work on it, select it in the tree.
Fields of the Add Content window:
- Type: the type of the element. The proposed type is Page.
- Title: the name of the element. The field is required: Add stays disabled while it is empty.
- Parent Section (optional): the section that contains the new element. The field appears only if the tree already contains elements.
- Root level: inserts the element at the top level of the tree. It is the proposed option.
- Name of a section: inserts the element inside that section. The list includes all sections of the portal, including those contained in other sections. Pages and reels do not appear, so they cannot contain other elements.
Selecting an element
Press a row of the tree to select the element: the panel on the right changes based on the type.
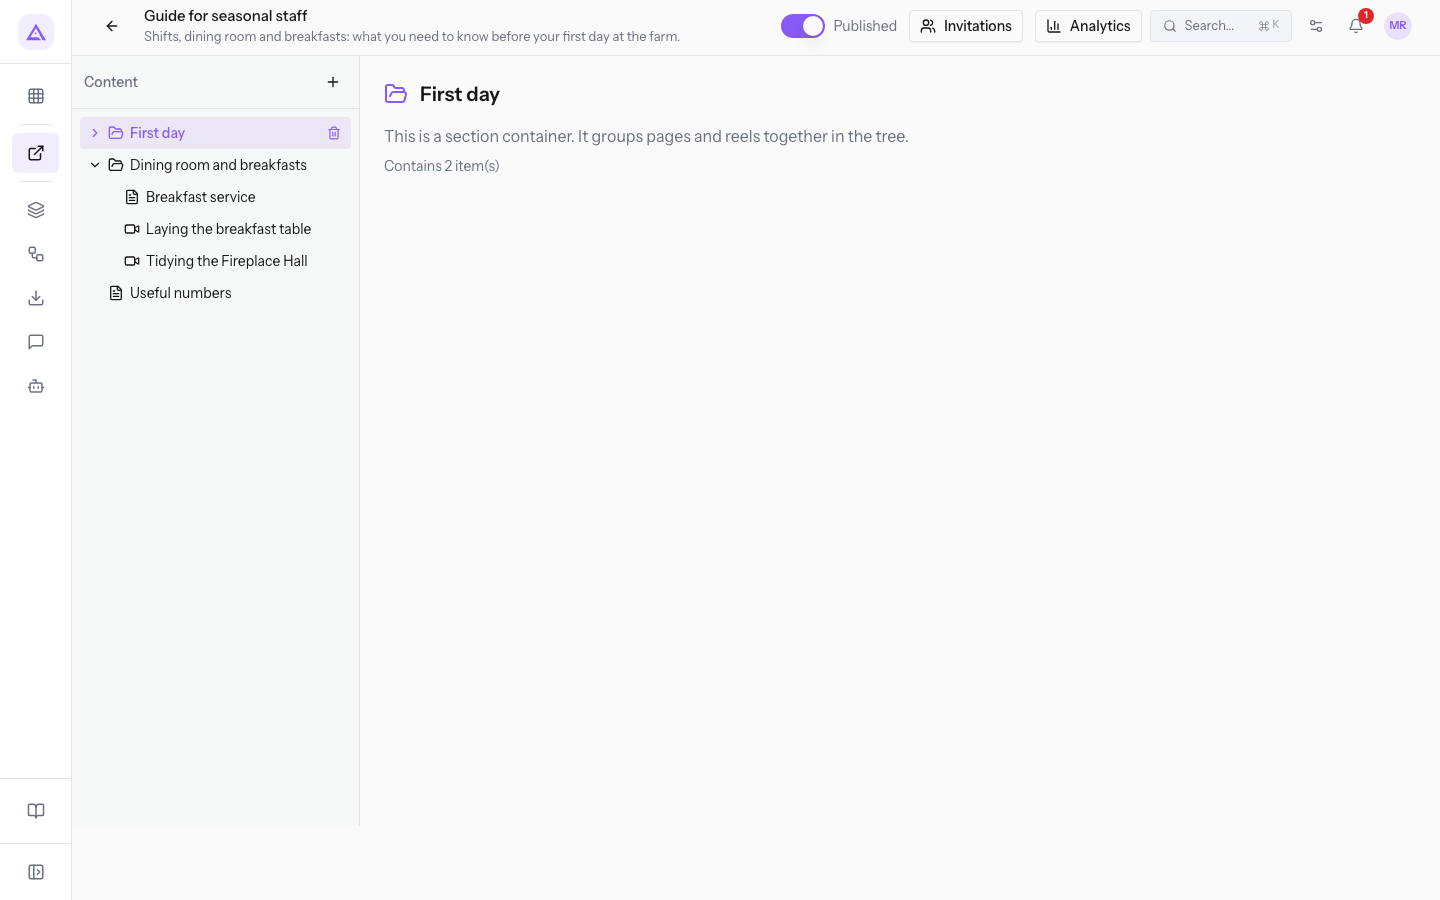
- Section: the panel shows the title, the message This is a section container. It groups pages and reels together in the tree. and, if the section contains elements, their number.
- Page: the panel shows the title, the text and the Attachments block.
- Reel: the panel shows the title and the video, or No video uploaded yet if the video is missing.
If the section contains elements, pressing it opens or closes it in the tree.
Renaming an element
The title of sections, pages and reels is changed from the panel of the selected element.
- Select the element in the tree.
- Press the title in the panel. The title becomes an editable field.
- Write the new title and press Save or Enter. To keep the title as it was, press Cancel or Esc.
The title cannot be empty. If you select another element before confirming, the title does not change.
Deleting an element
Deletion starts from the element's row in the tree. If you delete a section, you also delete everything it contains.
Before you start: deleting requires the module manager role. The module author creates and edits sections, pages and reels, but does not delete them.
- Hover the pointer over the element's row. The trash icon appears on the row.
- Press the trash icon.
- Confirm the message Delete this item and all its children?.
If the deleted element was selected, the panel returns to Select an item from the tree to edit.
Element order
Each new element goes to the bottom of the level where you insert it: at the bottom of the Root level or at the bottom of the chosen section.
The editor has no commands to change the order of elements or to move them to another section. So add the elements in the order they must appear, and choose the right section when you add them.
See it on your company, not on a slide deck.
In 30 minutes we map the software you use today.We show you how much work and how much margin Archimedes gives back.
Show me on my business →What industry are you in?
One tap — it lets us prepare the demo around your world.
What tools do you use today?
Pick the ones you recognise — or just type them. It helps us show you how they migrate.
Last step: your details.
We reply within one working day — and right after, if you like, you pick the demo slot yourself.
We couldn't send your request. Try again, or write to us at [email protected].
By sending, you agree to your data being processed so we can get back to you about the demo. Privacy notice.
Preview form — nothing is sent from this page.
Want to schedule the demo now?
Your call: book the slot you prefer yourself, or we'll call you to arrange it.
Live availability, 30 minutes, instant confirmation. The calendar opens in a new tab.
Lock in your slot ↗We'll get back to you within one working day — and we'll join the call already knowing your world.
The calendar is open in another tab: pick a slot and the demo is booked. Can't see it? Reopen it ↗
Preview page: nothing was sent.
Our calendar is live: take the slot that suits you and the demo is booked. 30 minutes, instant confirmation, no waiting.
Lock in your slot ↗