Contacts
All modules
Giving a contact Portal access
Contacts · 12 of 13 · 5 min read
Portal access lets a person in the address book sign in to the organization's portal with their own credentials, for example the purchasing contact of a company customer like Rossi Arredamenti S.r.l.. From the contact's page you create the access, choose the role the person signs in with, send the invitation and, when needed, revoke the access.
The password is not set by the organization: the invitation contains a link with which the person sets their own password.
Before you start: the portal access configuration is visible and editable only by the Contacts module manager.
Contact requirements
Two conditions must be met before creating the access.
- The person must have an email address: the invitation is sent to that address, for example
[email protected]. Without an email the action is not available and the indication Member needs an email first appears. - The person must belong to an entity: if the contact has no parent entity, set it first as described in Creating and editing a contact, then create the access.
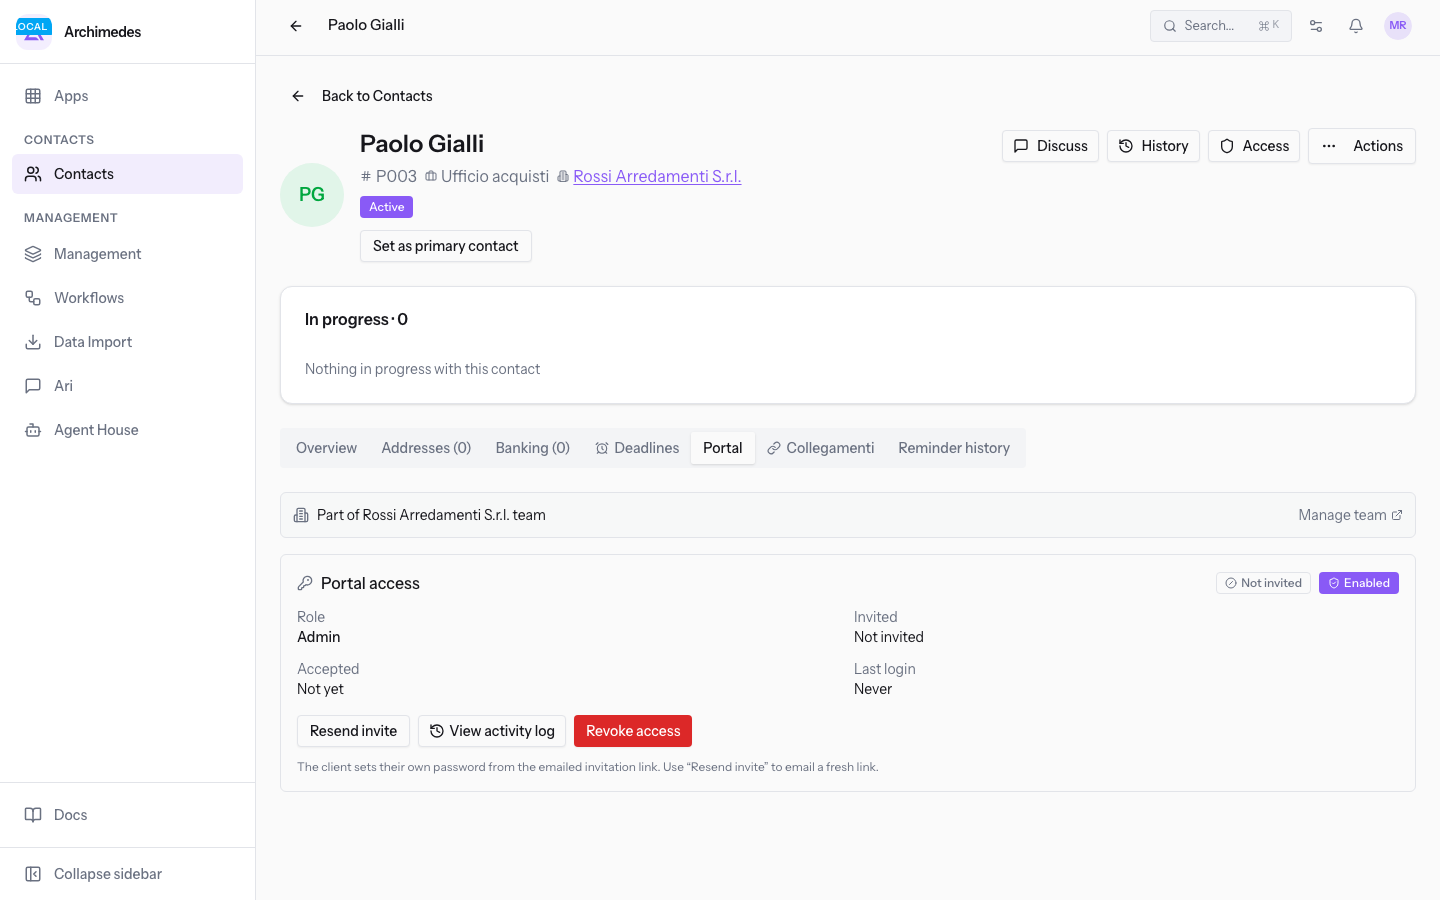
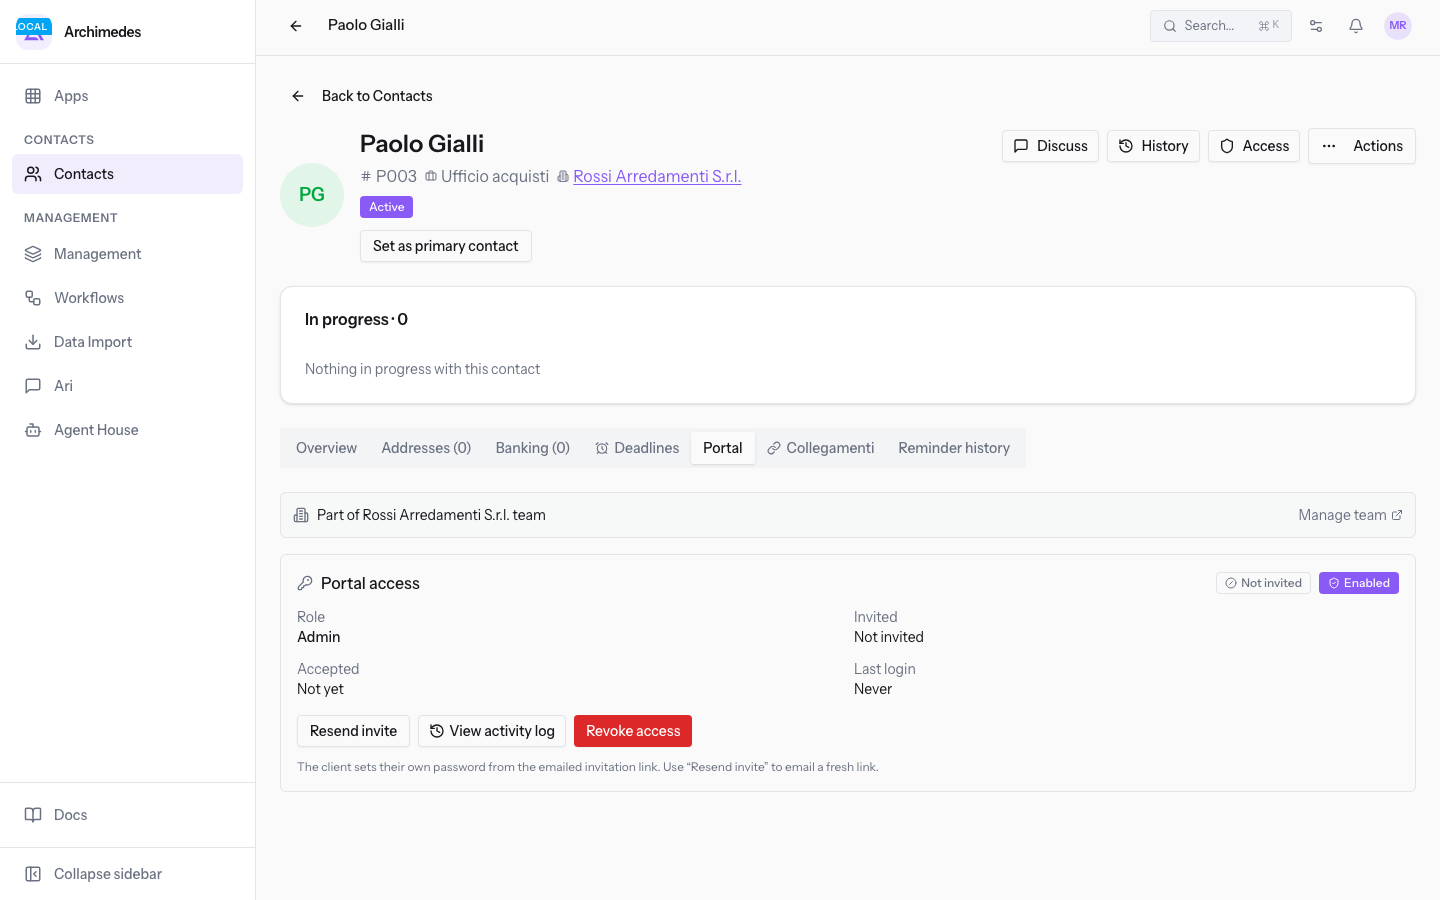
On the page of a person linked to an entity, the membership is shown in the portal tab, for example "Part of the Rossi Arredamenti S.r.l. team".
Creating portal access
The access is created from the person's page.
- Open Contacts and select the person, for example
Paolo Gialli. - Open the Portal tab.
- In the Portal login panel, click Provision portal access.
- In the Provision portal access dialog, choose the Role.
- Click Send invite, or Cancel to close without creating the access.
The fields in the dialog:
- Role: the level the person signs in to the portal with. There are three options.
- Admin (can manage other members): choose this role for the contact who needs to manage the other portal members.
- Member (can upload): the value proposed when the dialog opens; choose this role for someone who needs to work on documents and upload them.
- Viewer (read-only): choose this role for someone who only needs to consult.
The dialog indicates which address the invitation email with the password setup link is sent to, and specifies that no password is shown to the operator.
Note: if the invitation email fails to go out, the access is still created and the message Portal access created, but the invitation email was not sent. appears. In this case use Resend invite once email sending is available.
Access states
The Portal login panel shows the state the person is in with respect to the portal.
- Not invited: the contact does not yet have portal access.
- Invited – pending: the invitation has been sent and the person has not yet set a password.
- Invite expired: the invitation is no longer valid; to put it back in motion use Resend invite.
- Activated, never logged in: the access exists but the person has not yet signed in to the portal.
- Invitation accepted: the person has accepted the invitation.
- Verified: the access is active and verified.
- Access revoked: the access has been removed.
Next to the state, the panel shows the access usage data: Last login, Failed attempts and Locked until.
Managing an existing access
When the person already has access, the Portal login panel offers three actions.
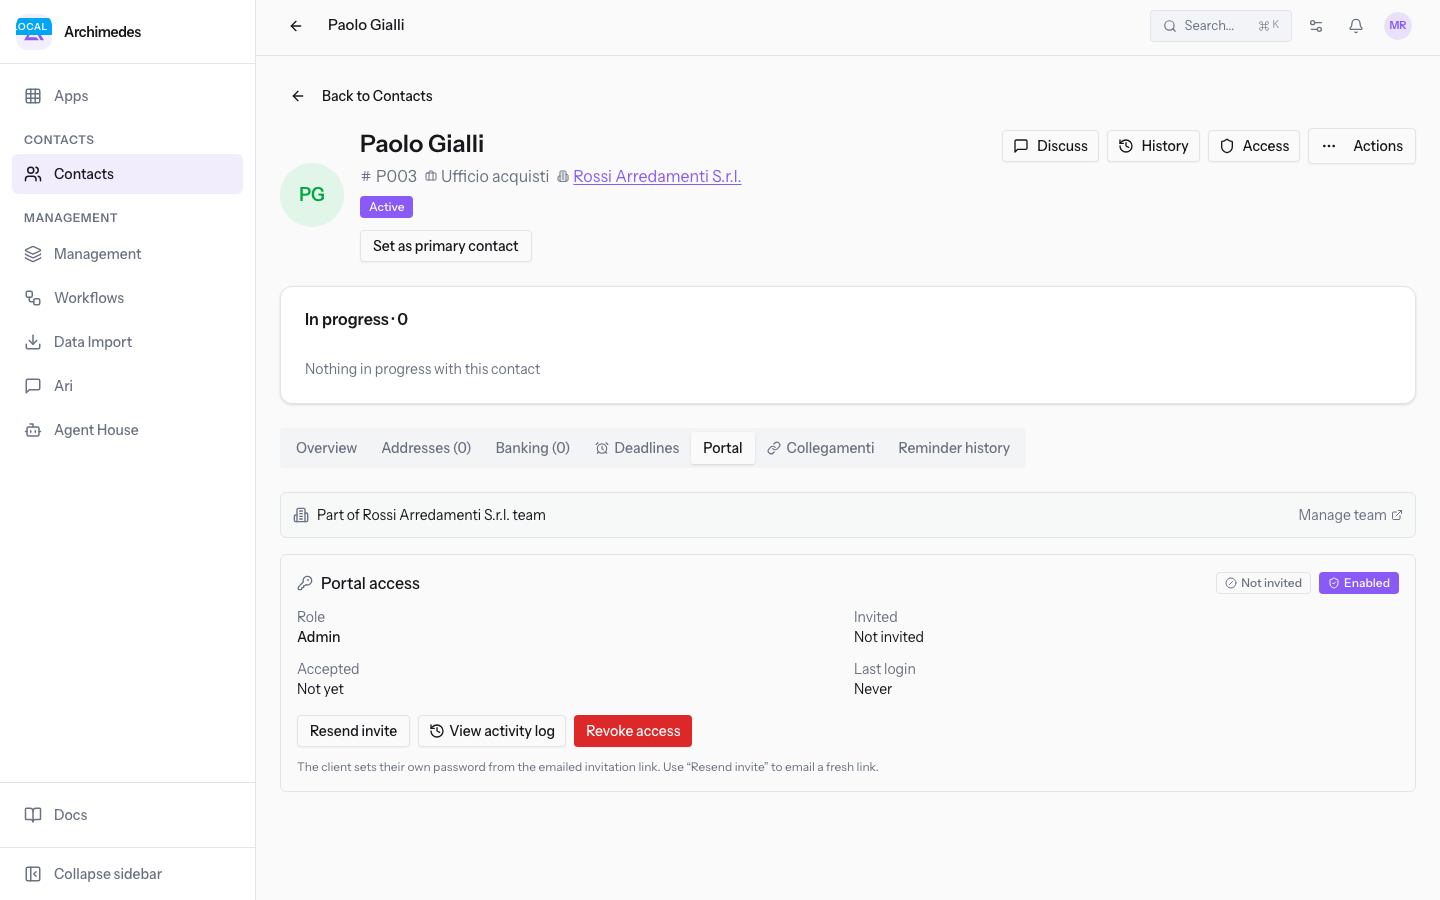
- Resend invite: sends the email with the password setup link again. Use it when the invitation has expired, when the email did not go out, or when the person did not receive it.
- View activity log: opens the Portal activity log dialog.
- Revoke access: removes the person's portal access. The operation asks for confirmation with the question Revoke portal access for this contact? and ends with the message Portal access revoked.
Consulting the activity log
The log lists the portal access events for that contact.
- In the Portal login panel, click View activity log.
- Read the rows in the Portal activity log dialog: each row shows the event, the IP address and the date and time, for example Access granted with IP
127.0.0.1. - Click Close.
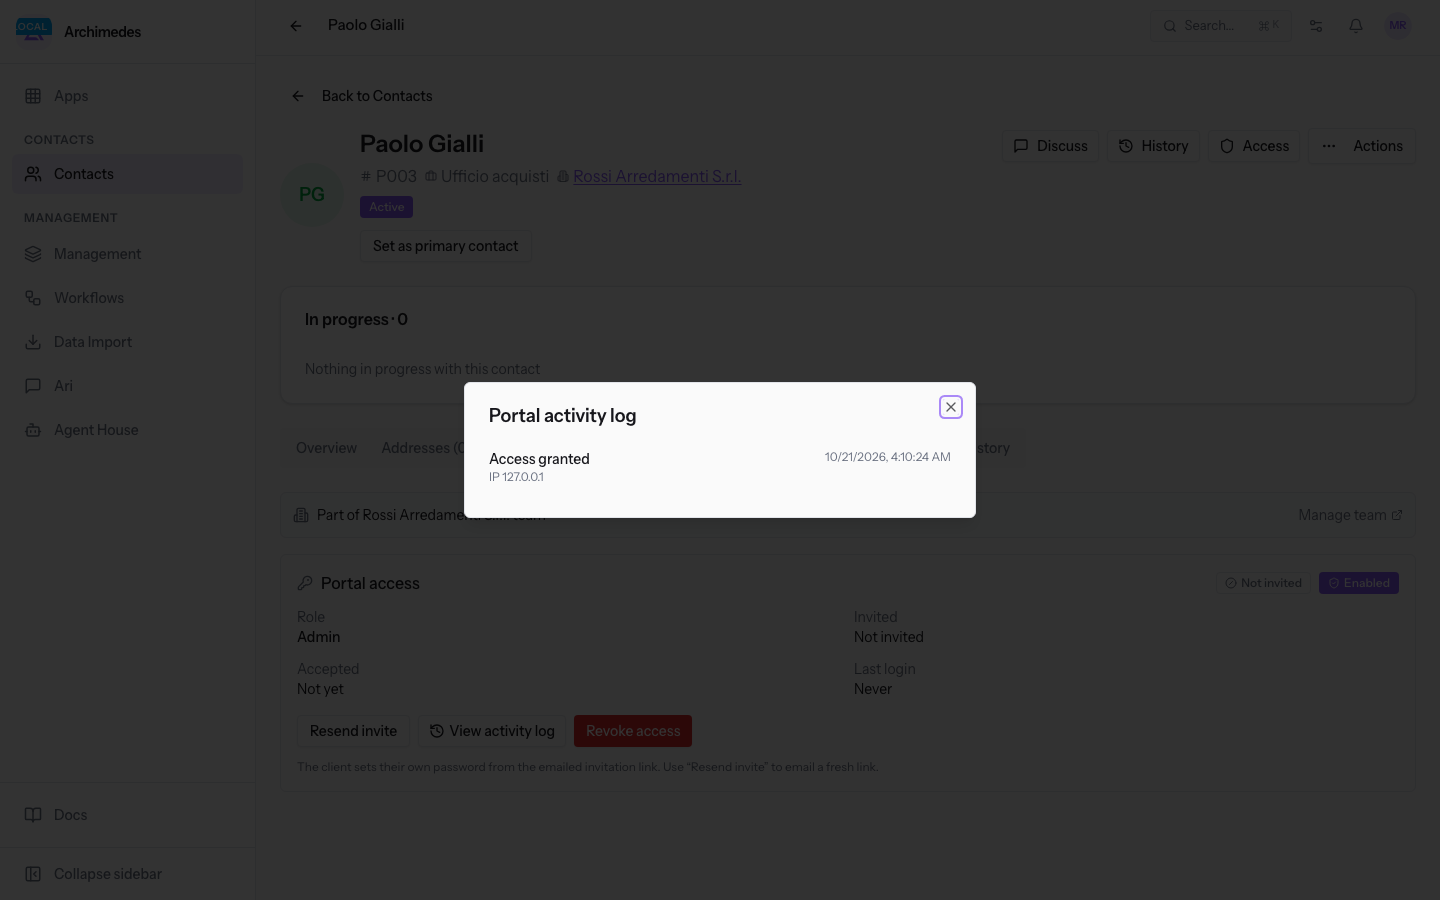
The recorded events include Access granted, Invitation sent, Logged in, Failed login attempt, Invitation email not sent and Access revoked.
Portal access for an entity's team
On an entity's page, the Portal tab gathers the portal access of all members, so you manage a company customer's contacts from a single place. Members are added to the entity as described in Managing an entity's Members and Locations.
- Open Contacts and select the entity, for example
Rossi Arredamenti S.r.l.. - Open the Portal tab. The Team portal access panel lists the entity's members, for example
Paolo Gialli. - On the member's row, click Provision.
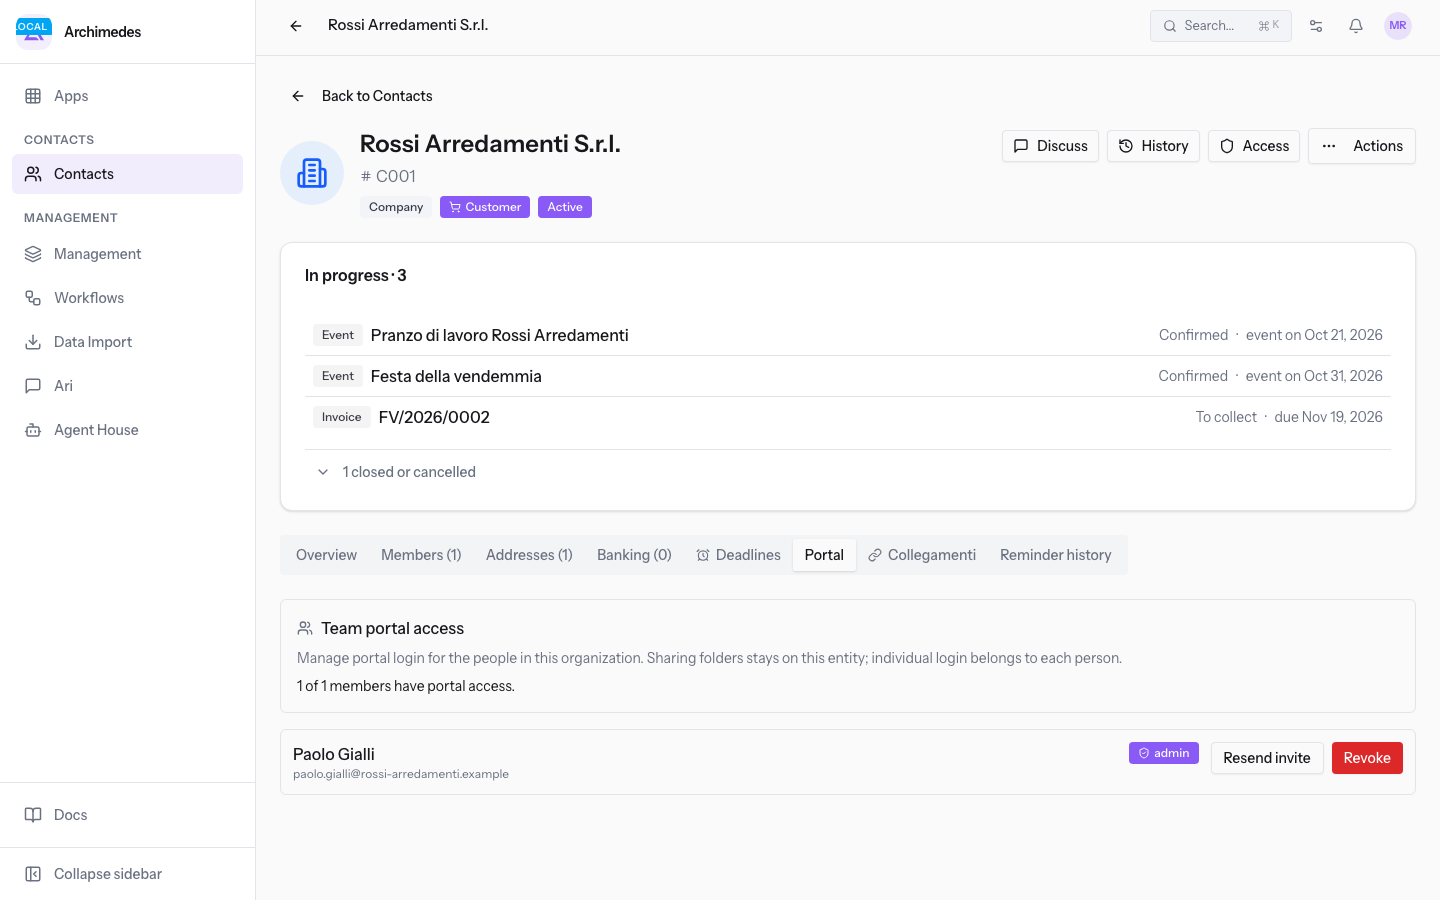
- In the Crea accesso al portale per Paolo Gialli dialog, choose the Role and click Send invite. The roles and the invitation behavior are the same as on the person's page.
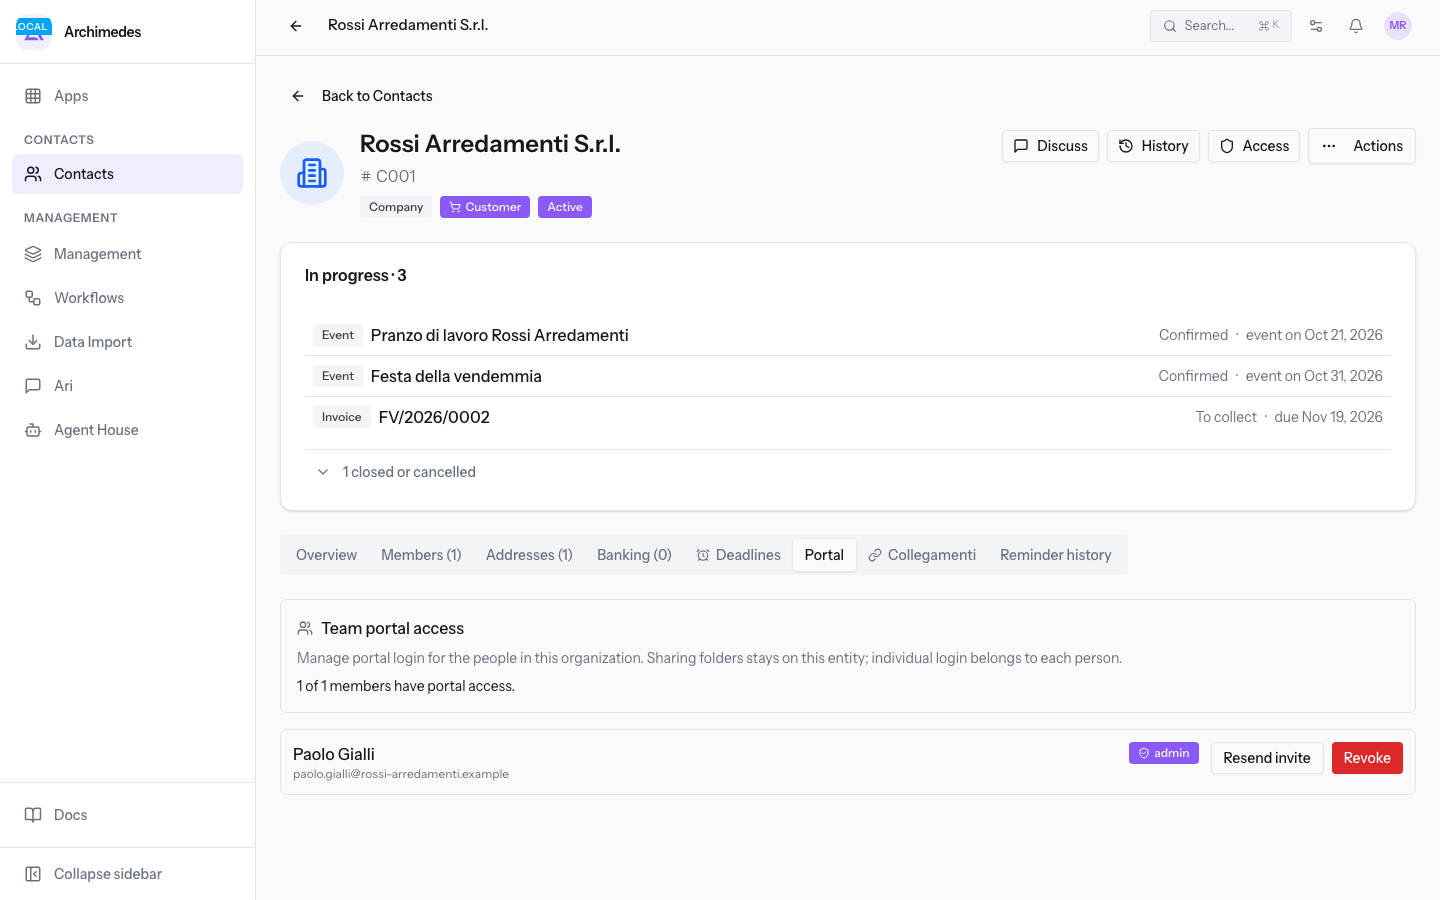
To remove a member's access from the same panel, use Revoke: when done, the message Member portal access revoked. appears.
Note: when a member of the entity has no email address, Member needs an email first appears in place of the action; add the email to the person's page and try again.
See it on your company, not on a slide deck.
In 30 minutes we map the software you use today.We show you how much work and how much margin Archimedes gives back.
Show me on my business →What industry are you in?
One tap — it lets us prepare the demo around your world.
What tools do you use today?
Pick the ones you recognise — or just type them. It helps us show you how they migrate.
Last step: your details.
We reply within one working day — and right after, if you like, you pick the demo slot yourself.
We couldn't send your request. Try again, or write to us at [email protected].
By sending, you agree to your data being processed so we can get back to you about the demo. Privacy notice.
Preview form — nothing is sent from this page.
Want to schedule the demo now?
Your call: book the slot you prefer yourself, or we'll call you to arrange it.
Live availability, 30 minutes, instant confirmation. The calendar opens in a new tab.
Lock in your slot ↗We'll get back to you within one working day — and we'll join the call already knowing your world.
The calendar is open in another tab: pick a slot and the demo is booked. Can't see it? Reopen it ↗
Preview page: nothing was sent.
Our calendar is live: take the slot that suits you and the demo is booked. 30 minutes, instant confirmation, no waiting.
Lock in your slot ↗