Contacts
All modules
Managing categories and assigning them to contacts
Contacts · 7 of 13 · 4 min read
Categories classify the contacts in your address book with reusable labels, for example to tell regular customers apart from occasional suppliers or to group the contacts of an industry. You manage them all in a single window, where you can create, edit, and delete them and assign them to several contacts at once.
A category can stand on its own or sit under another category, chosen in the Parent Category field: use a parent category when you want to group related labels, leave it empty when the label is independent.
To classify a single contact it is better to work on its page, as described in Creating and editing a contact; the bulk assignment window is for when the same category needs to go on many contacts. To later find the contacts in a category, use the filter described in Filtering contacts with Advanced Filters and Source.
Opening Manage Categories
Before you start: creating, editing, and deleting categories is reserved for the Contacts module manager; for the module user, categories are read-only.
Every operation on categories starts from the same window, opened from the contact list.
- Open Contacts.
- Press Categories. The Manage Categories window opens.
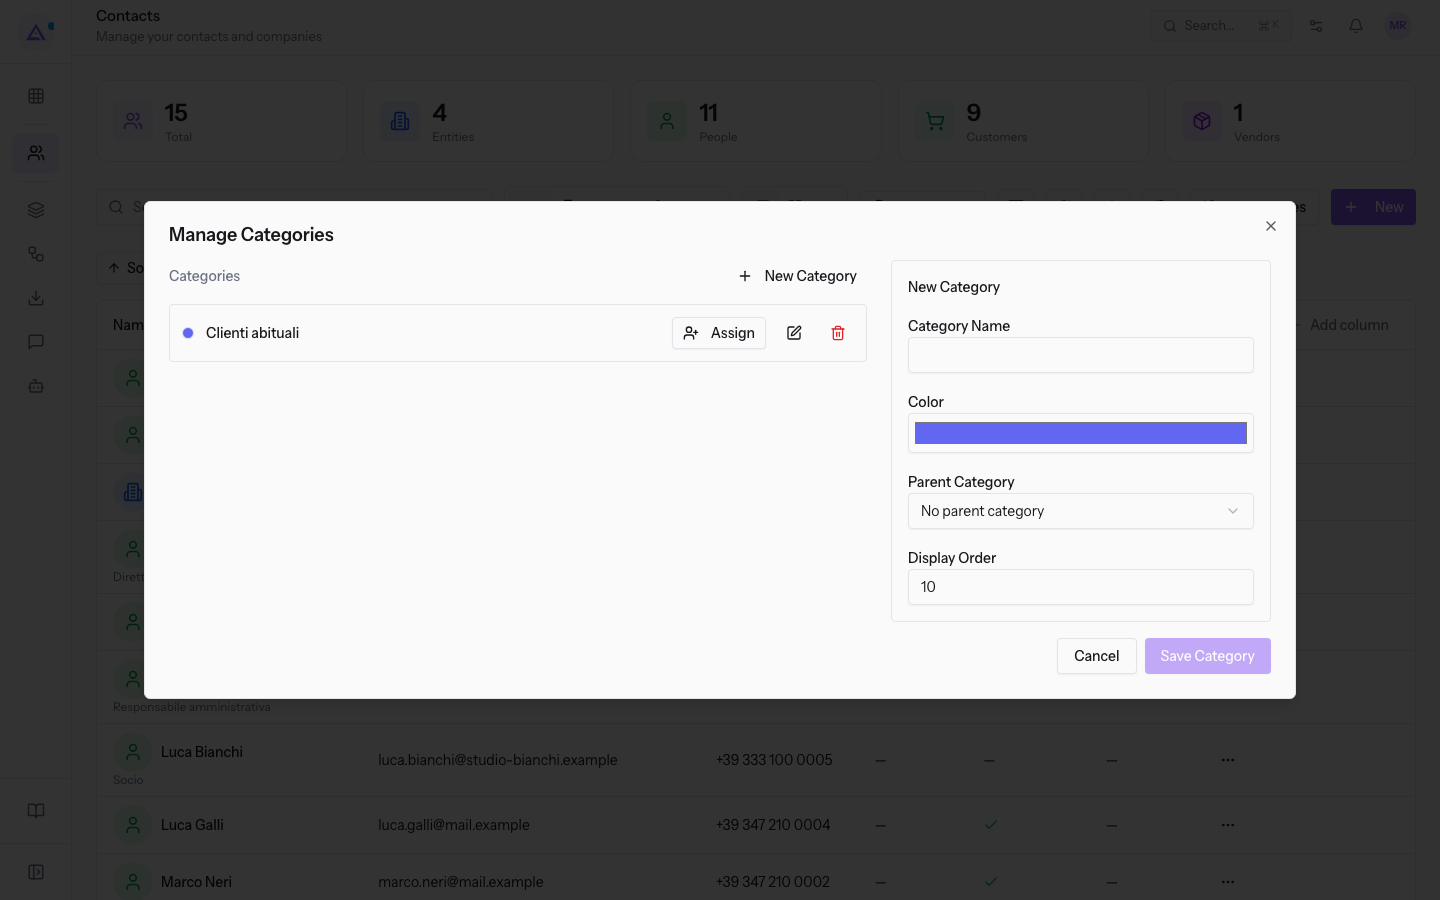
The window is split into two parts: on the left the Categories list, on the right the panel with the category's fields. When no category exists yet, the list shows No categories yet.
Creating a category
A new category is filled in through the New Category panel of the window.
- In the Manage Categories window, press New Category.
- Fill in the fields of the New Category panel.
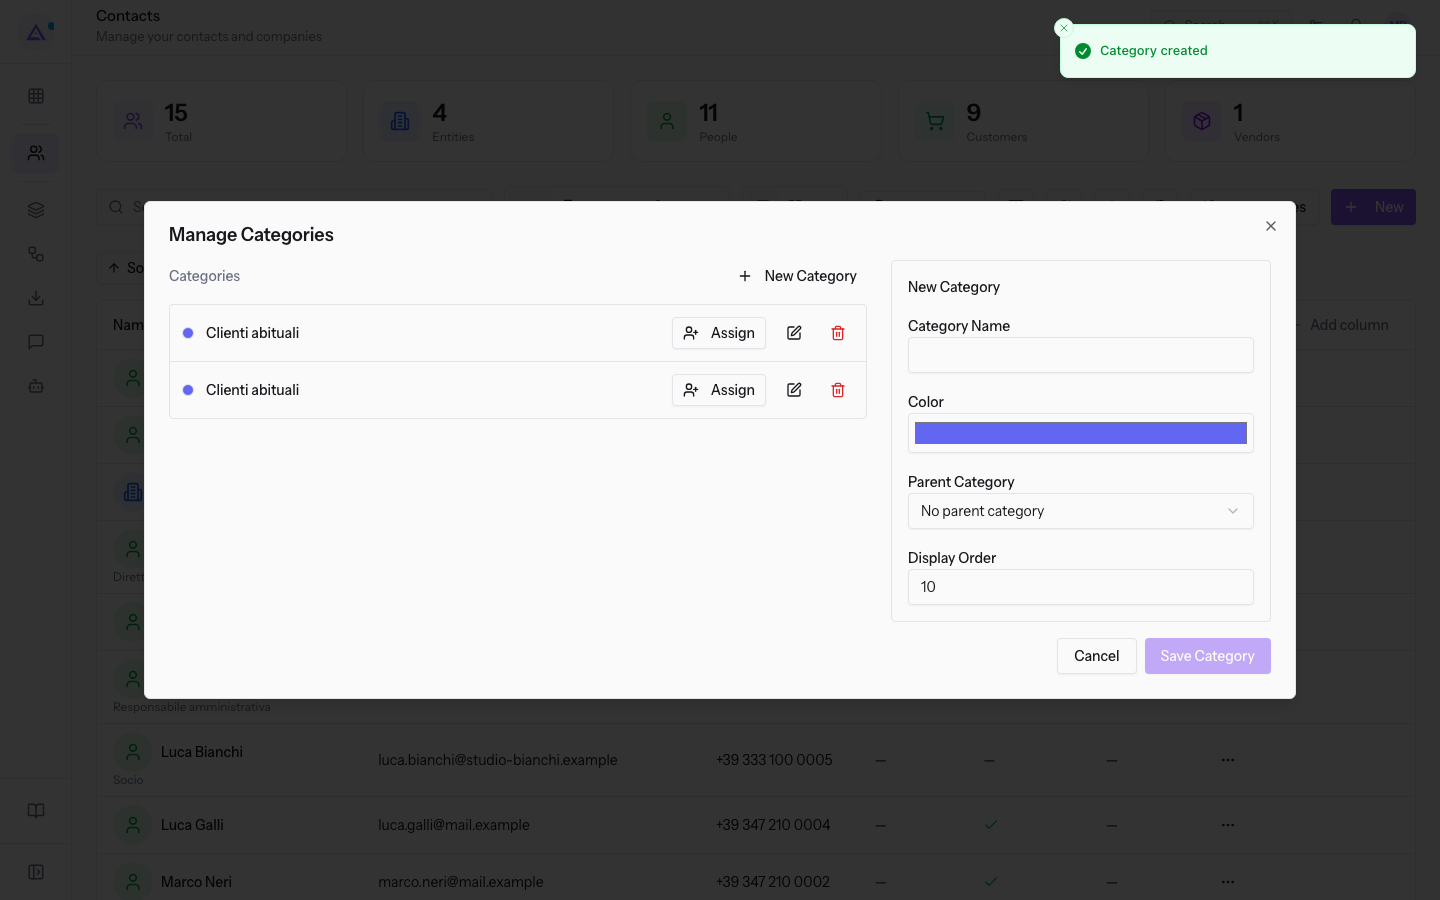
- Press Save Category. The message Category created appears and the category shows up in the Categories list.
The panel's fields are the following.
- Category Name: the label's name, for example
Regular customers. The field is required. - Color: the color the category is shown with, given as a hexadecimal code. The field is prefilled with
#6366f1. - Parent Category: the category under which to place the one you are creating. The default value is No parent category. The list offers the categories that already exist.
- Display Order: the number that determines the category's position in lists. The field is prefilled with
10.
Note: a newly created category immediately becomes available as a Parent Category for the categories that follow.
To leave without saving, press Cancel; to close the window, press Close.
Editing or deleting a category
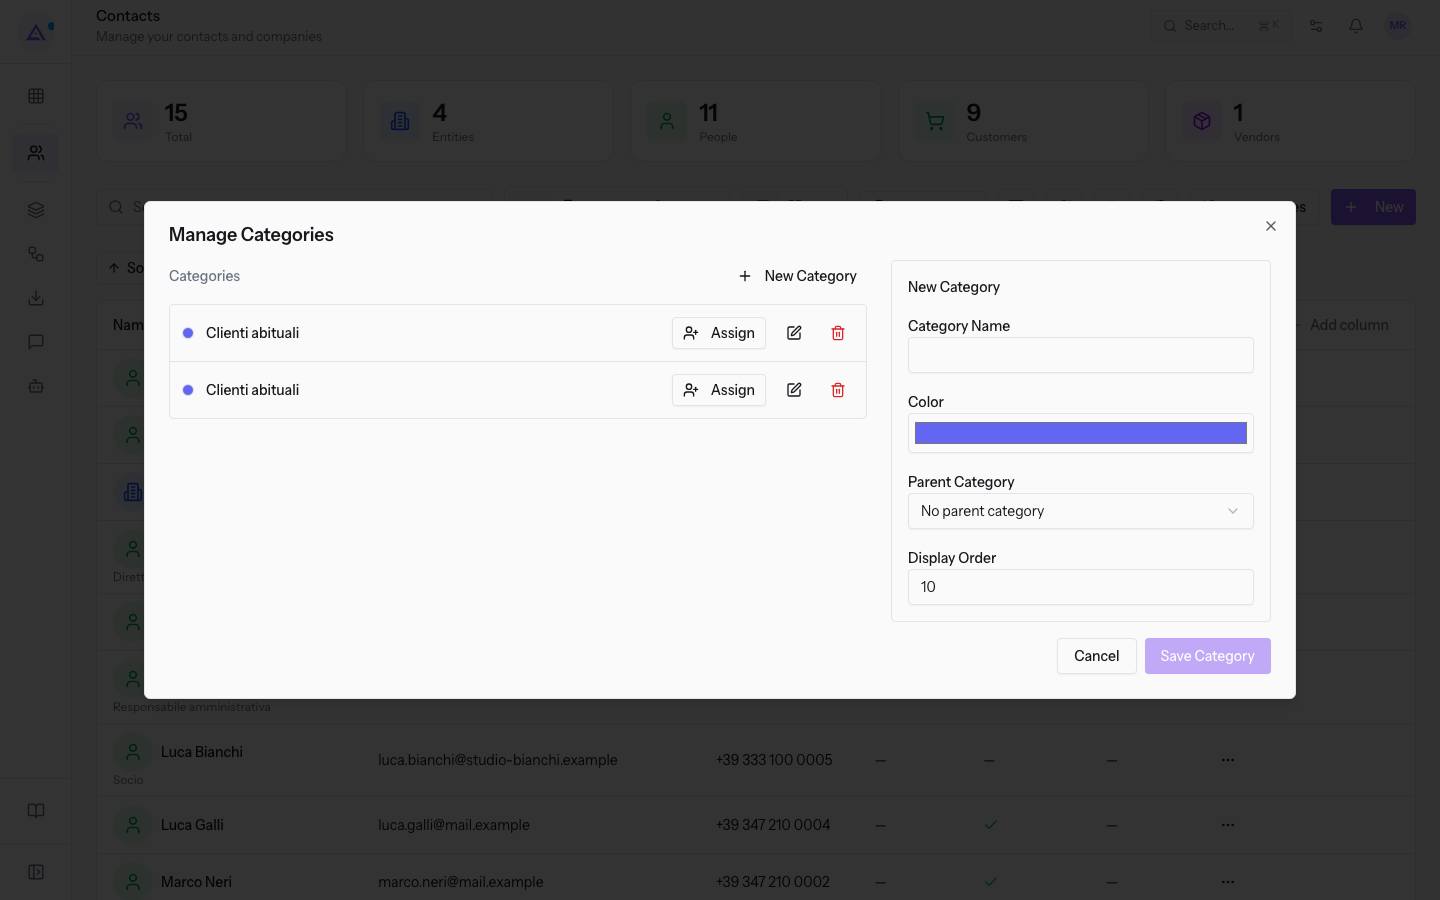
Each row of the Categories list carries the controls to act on that category.
- In the Manage Categories window, locate the category in the Categories list.
- Press Edit Category. The right-hand panel switches to Edit Category and shows the category's current values.
- Change Category Name, Color, Parent Category, or Display Order, then press Save Category.
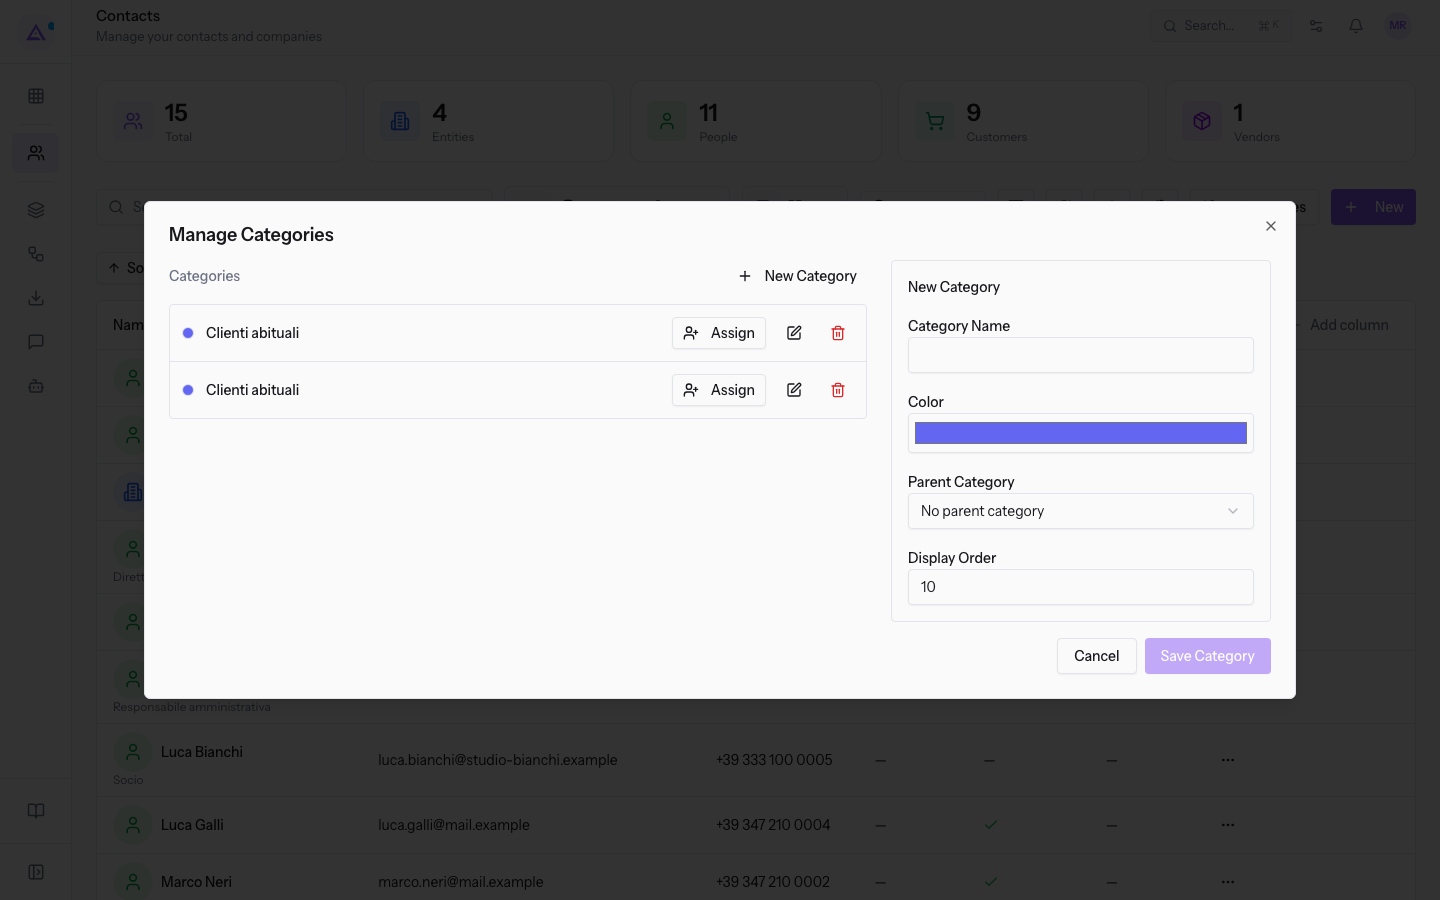
To remove a category, press Delete Category on its row in the Categories list.
Assigning a category to several contacts
From the same window you can put a category on a group of contacts chosen from a list.
- In the Manage Categories window, press Assign on the category's row. The Assign Category window opens with the category's name, for example
Regular customers. - Type in the Search contacts or companies field to narrow the list, for example
Rossi. - Tick the checkbox of each contact to classify. Each row shows the name, the type (
PersonorEntity), the entity it belongs to if any, and the email, for examplePaolo Gialli Person · Rossi Arredamenti S.r.l. · [email protected]. - Press Assign Category.
The window indicates how many contacts you have selected and how many it is showing out of the total found, for example Showing 15 of 15.
Two controls work on the entire search.
- Select all results: selects every contact matching the current search, not just the ones visible in the list.
- Clear visible: removes the selection from the contacts shown at that moment.
Tip: filter with Search contacts or companies before using Select all results, because the selection follows the current search.
To close without assigning, press Cancel or Close.
See it on your company, not on a slide deck.
In 30 minutes we map the software you use today.We show you how much work and how much margin Archimedes gives back.
Show me on my business →What industry are you in?
One tap — it lets us prepare the demo around your world.
What tools do you use today?
Pick the ones you recognise — or just type them. It helps us show you how they migrate.
Last step: your details.
We reply within one working day — and right after, if you like, you pick the demo slot yourself.
We couldn't send your request. Try again, or write to us at [email protected].
By sending, you agree to your data being processed so we can get back to you about the demo. Privacy notice.
Preview form — nothing is sent from this page.
Want to schedule the demo now?
Your call: book the slot you prefer yourself, or we'll call you to arrange it.
Live availability, 30 minutes, instant confirmation. The calendar opens in a new tab.
Lock in your slot ↗We'll get back to you within one working day — and we'll join the call already knowing your world.
The calendar is open in another tab: pick a slot and the demo is booked. Can't see it? Reopen it ↗
Preview page: nothing was sent.
Our calendar is live: take the slot that suits you and the demo is booked. 30 minutes, instant confirmation, no waiting.
Lock in your slot ↗